Kup stronę 60% Taniej
BLACK MONTH
BLACK MONTH
Do końca 2 DNI : 2 GODZIN : 2 MINUT : 2 SEKUND
Categories.
WebWave drag and drop website builder lets you create unique websites. You can build your website from scratch by starting with a blank page, or choose various website templates from our free collection and modify them according to your needs. With WebWave website builder, you have a complete website design and hosting system at your fingertips.
This website was created with WebWave.
Find us online
Contact.
Email us at:
contact@webwave.me
Or use the chat (Mon-Fri)
Website builder.
Offer.
Useful articles.
Google Analytics - Keep an eye on traffic of your website
In order to link your website created in website builder WebWave CMS to traffic analysis tool Google Analytics, create and configure your free account there. Analytics will generate a tracking code for you which you need to paste in website builder WebWave. In this article you will learn how to build a website and monitor its traffic with Google Analytics.
Create and configure Google Analytics account
Get a tracking code from Google Analytics
Enter a tracking code to your website in WebWave
Create and configure Google Analytics account
I don't have a Google account
If you don't have a Google Analytics account yet, you need to create one first. To do this, go to the main Google Analytics page and click "Get started today."
After entering all the required information, click "Next step" and accept Google's privacy and terms of service by clicking the "I AGREE" button.
In the next window, Google will inform you of the need to verify your email address.
Go to your inbox and click on the link sent by Google.
You will be redirected to a welcome page, from where you can directly access Google Analytics by clicking the appropriate button.
I already have a Google account
The first step, creating a Google account, is now complete.
Next, you need to configure the service to receive the tracking code that we will use on your WebWave website.
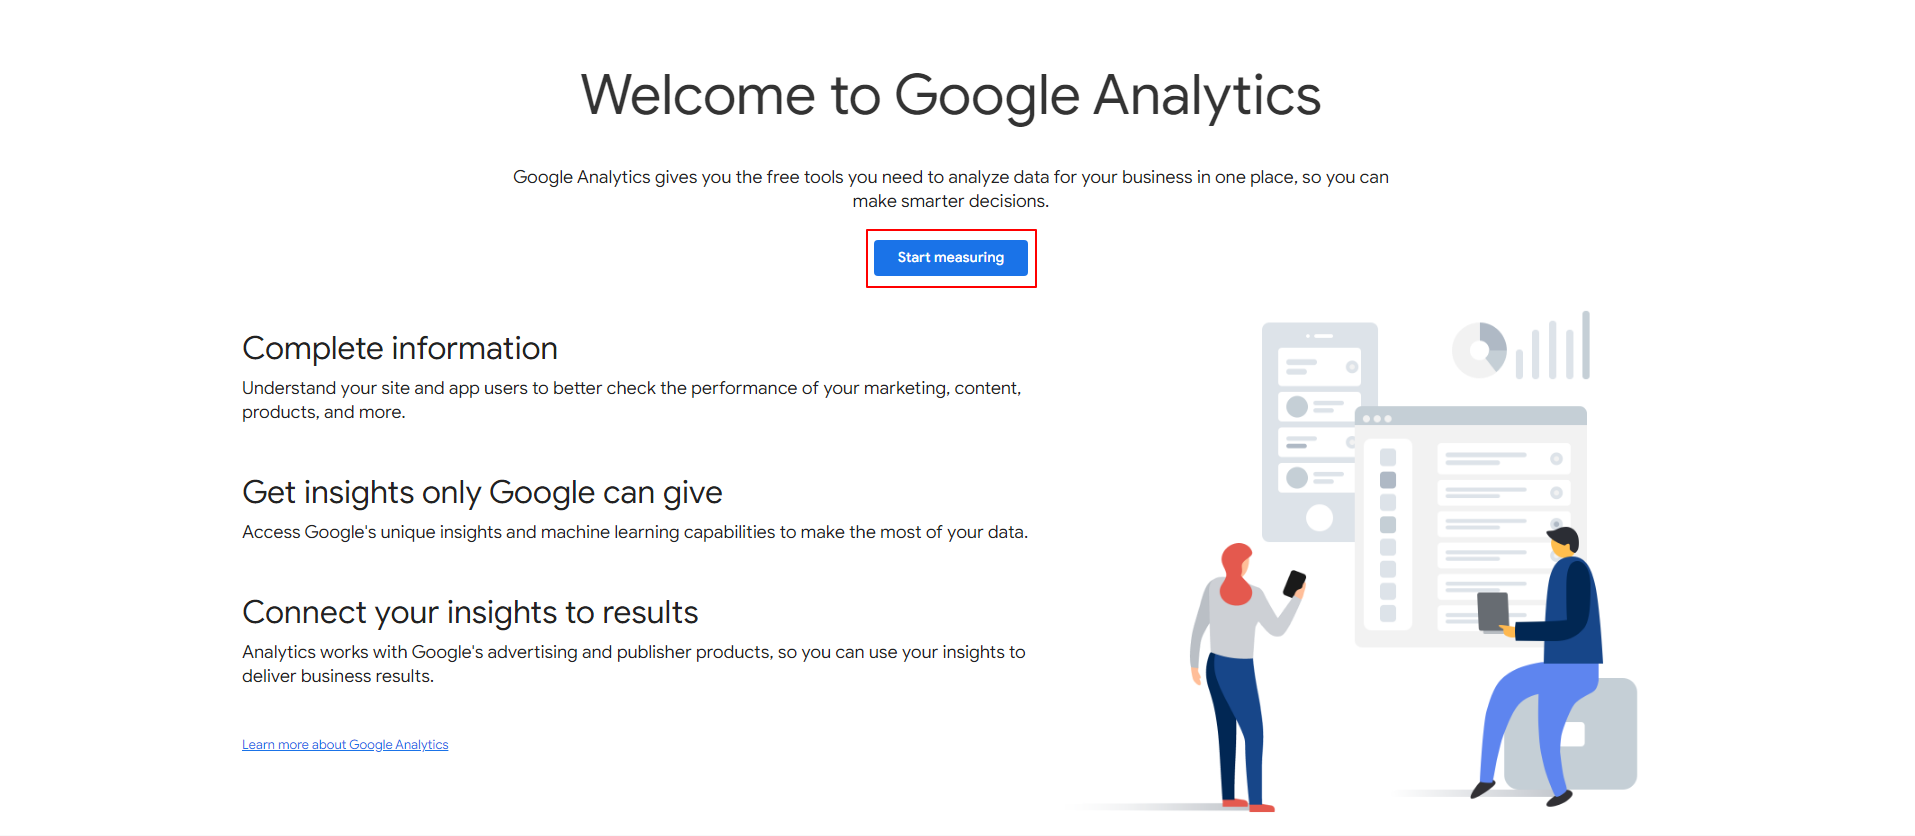
To do this, click the "Start measuring" button.

Next, you need to choose your industry from the drop-down menu "Industry category" and set the time zone.
The next step will be to provide information about your company. Select the industry in which you operate and your company size.
Now you need to select the goals and topics that are most important to you.
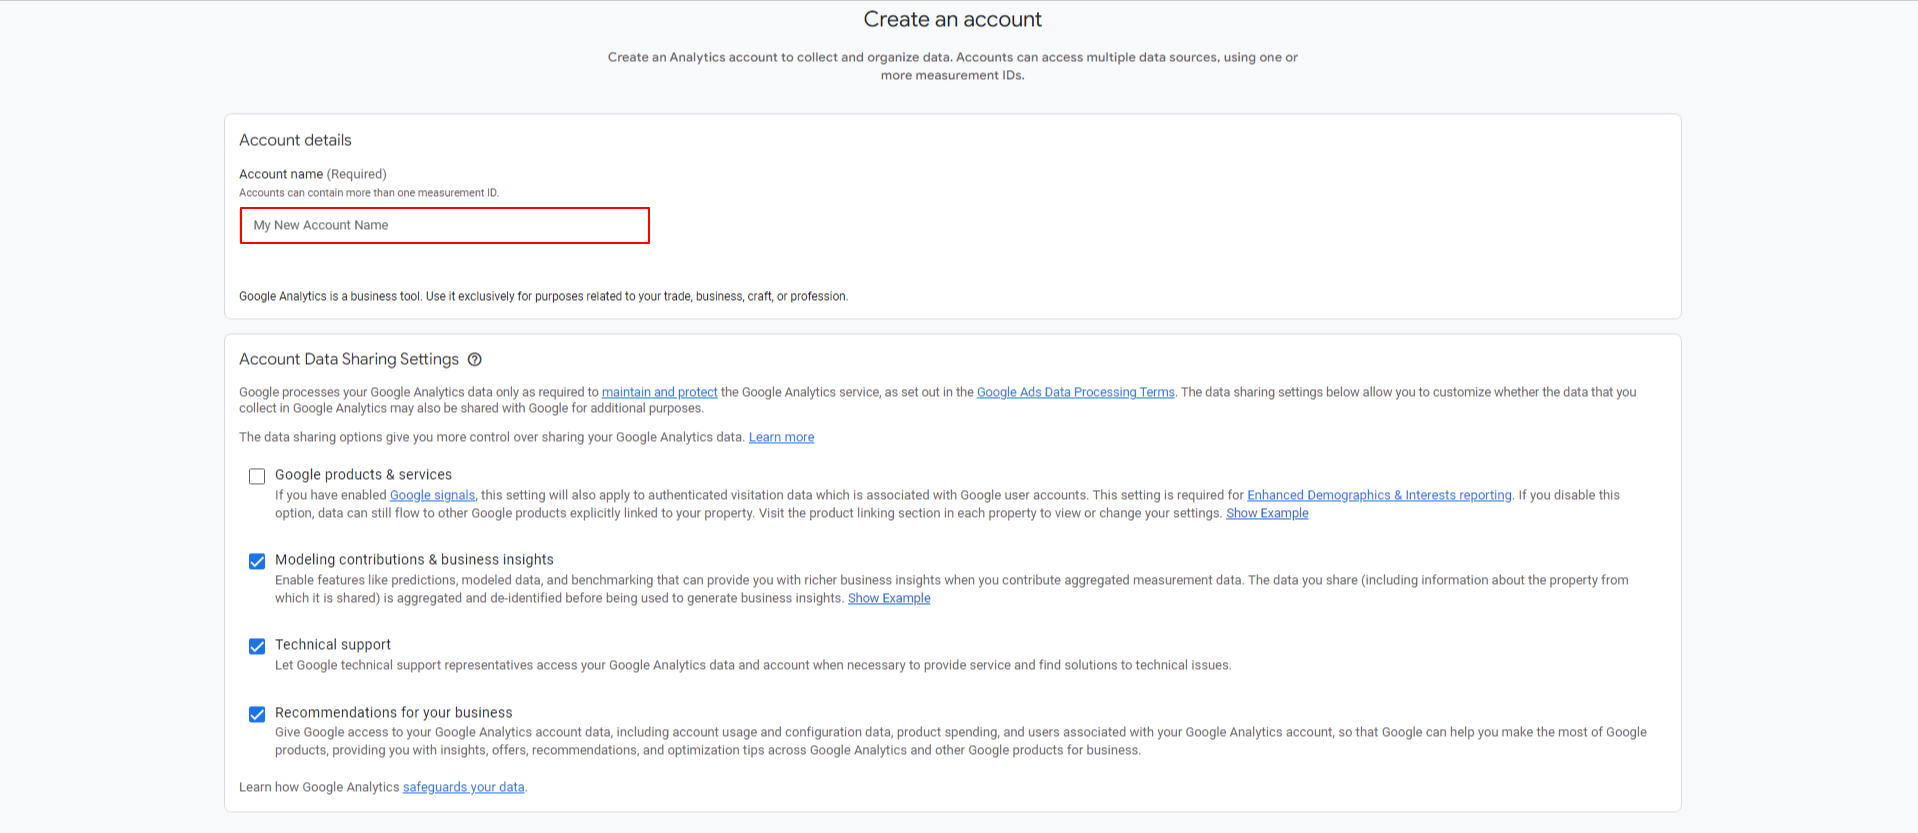
In the next step, you need to accept the terms of service for Google Analytics.
After accepting the terms, choose the platform you plan to use to track the data stream. You can choose from three platform types: web browser, Android app, or Apple (iOS) app.
In the next step, Google Analytics will ask you to configure the data stream. Enter the URL of the website where you want to place GA4, provide a name (any name) for the tracking stream, and click "Create stream."
The Google Analytics account has been created.
Now, simply copy the tracking code and paste it into your website in WebWave.
Here’s how to do it.
Get a tracking code from Google Analytics
After logging into your Google Analytics account, click the "Admin" tab located in the bottom right corner.
By clicking the "Data Streams" button, and then on the name of the stream you created, you will be taken to the tab where you can download the "tracking code."
Copy your tracking ID, which you will later paste into the designated area in the Webwave builder.
Enter a tracking code to your website in WebWave
Open the website in the WebWave builder and in the "Settings" tab, click on "Marketing and Analytics."
In the new window paste the code and save.
Publish your website and wait for Google to start counting the number of visits on your website.


